Step 1 - Log into your PrestaShop 1.6 admin interface.
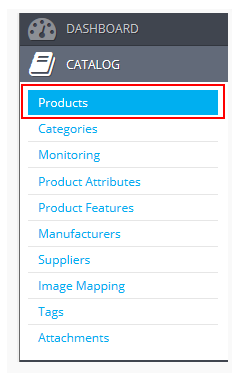
Step 2 - Click on the Catalog link from the left hand menu and then click on the Product option.
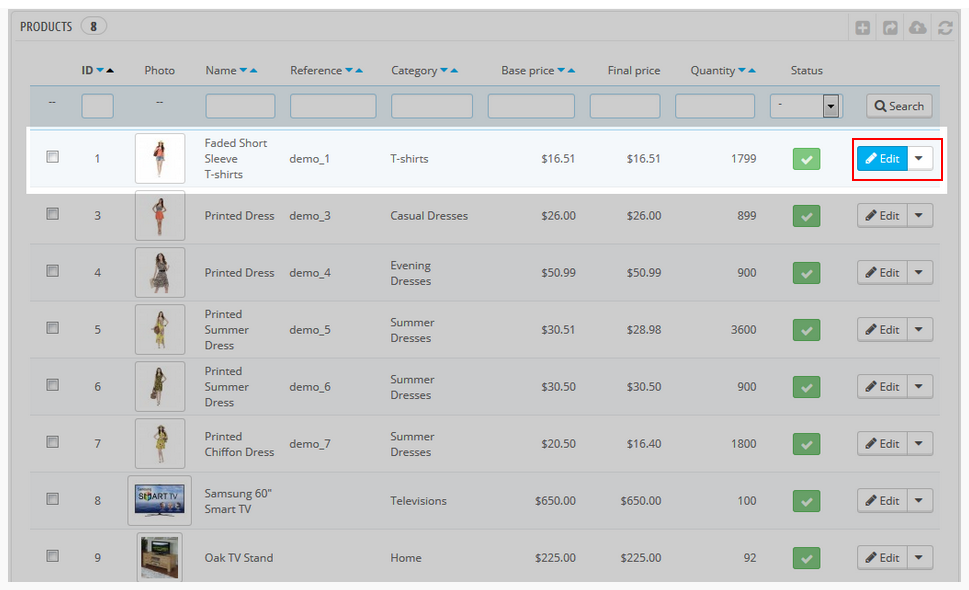
Step 3 - From the main Product list page, find the product you want to place on sale and click on the Edit option on the right side of the product row.
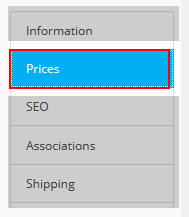
Step 4 - Look to the tabs on the left and click on the Prices tab.
Step 5 - From the Prices data tab, look for a checkbox with the description “Display the ‘on sale’ icon on the product page, and in the text found within the product listing.” Click on the checkbox to activate the ‘On Sale‘ status.
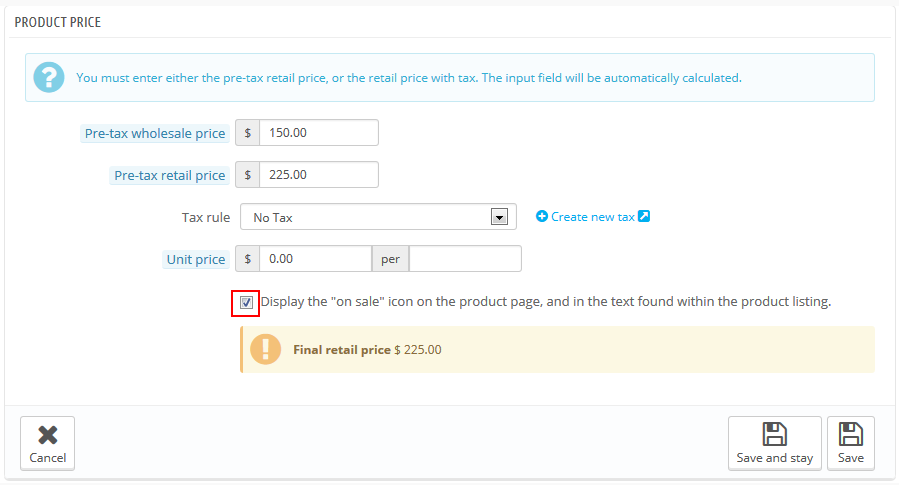
Step 6 - Click on the Save and Stay button in the Product Price section.
Step 7 - Next, look to the lower section titled Specific Prices to set the details of the sale. There are different options here, but for our example, we allow the discount to apply to all customers. We decided to allow a 10% discount.
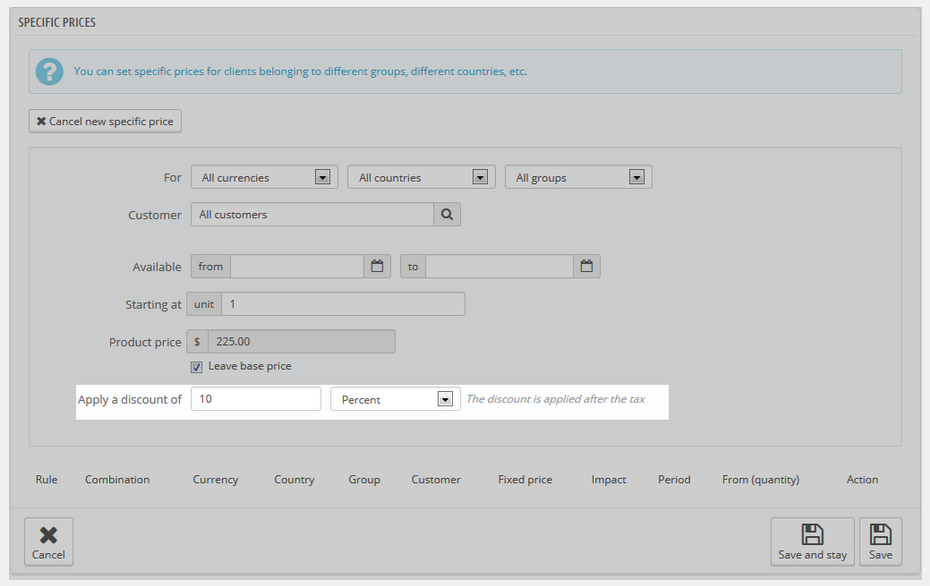
Step 8 - Click on the Save button in the lower right corner of the section.